Chocolatey protein bars

If you’re a bit of an exercise nut or perhaps you feel your arms resemble twigs somewhat and you should do something about it, well then this recipe is for you. Protein powder forms the basis of this treat; as with trying to keep fit protein supports muscle growth and repair.

My boyfriend came up with this recipe for himself as he tried drinking protein powder but wasn’t too keen on the taste. Instead of giving up on the stuff, he persevered; trying and testing different ways he could take the powder. He has tried cakes and brownies in the past but has found these protein bars to be the most flavoursome. These protein bars are derived from a simple flap jack recipe with a couple of beneficial alterations.

20131007_211325

Ingredients:
500g oats
200g bran flakes
250g golden syrup
200g butter
100g protein powder
200g melted chocolate

You may think putting protein powder with these other fatty ingredients may cancel out the overall positive effects. But in fact you are gaining added protein from the oats, bran flakes and butter. Also the butter provides you with essential fats… admittedly the rest is all for good taste. For building muscle in general an increased intake of calories is needed.

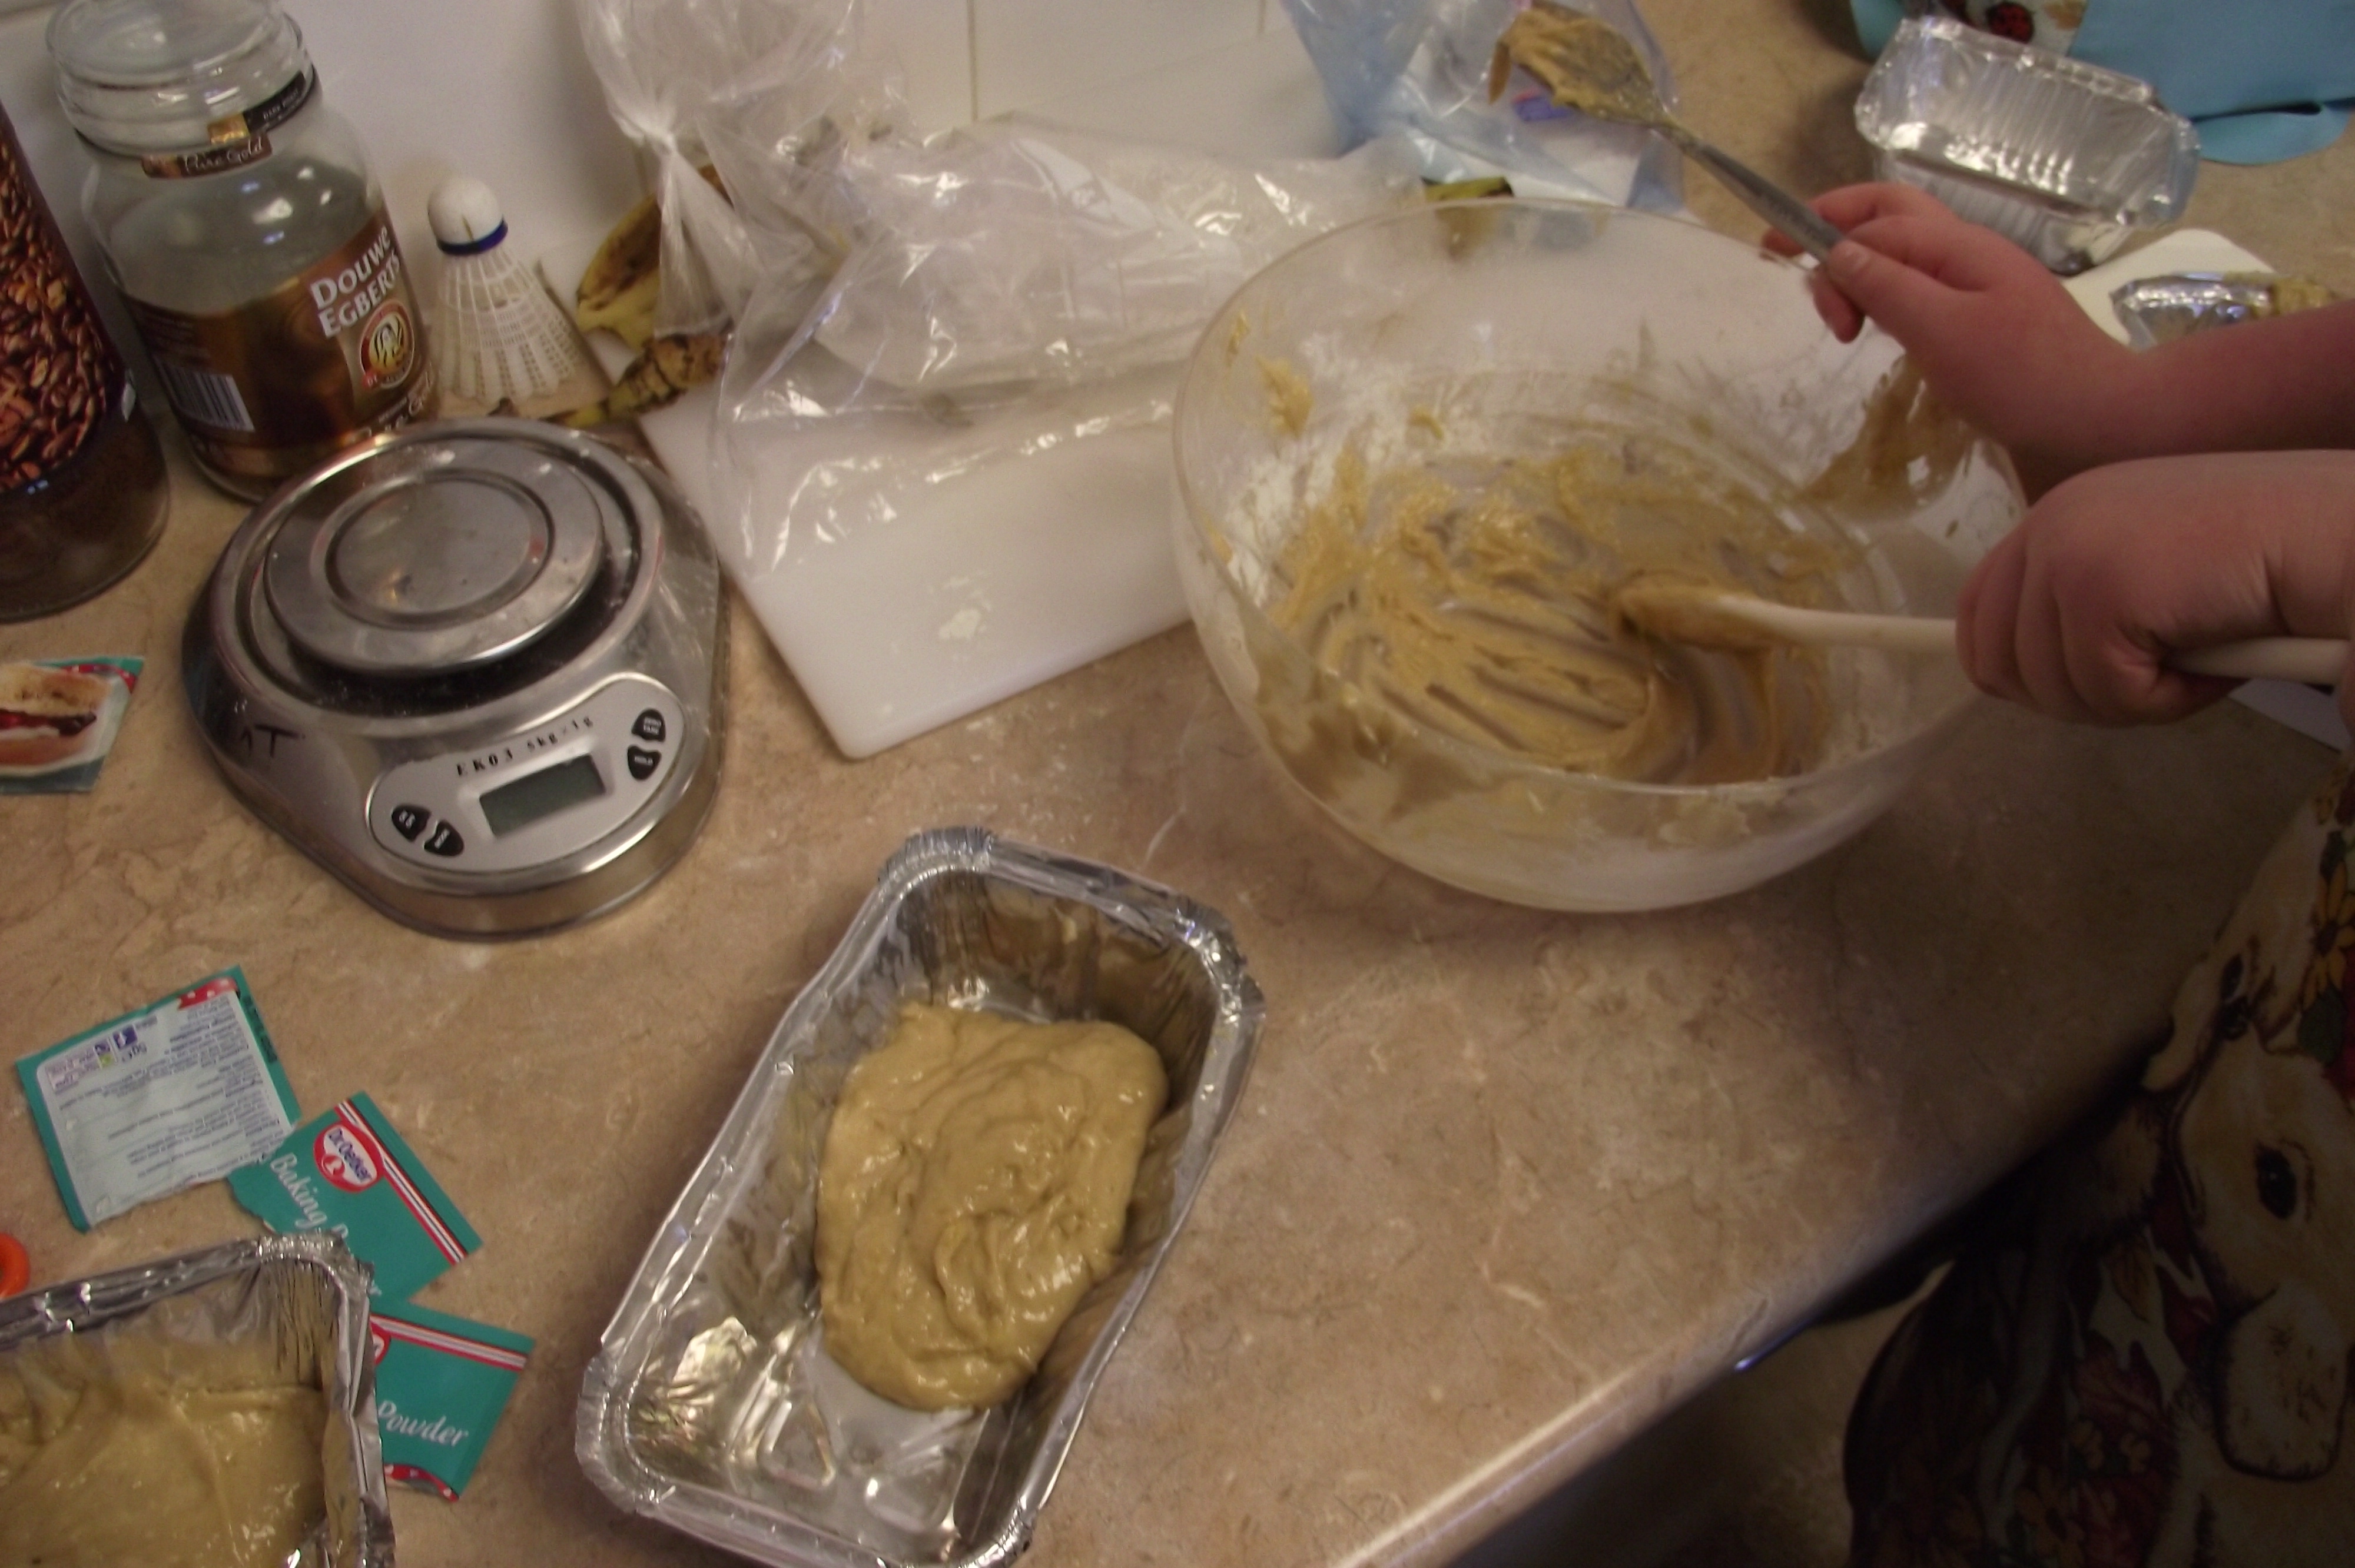
So, to start get your oats and bran flakes and give them a quick blits in a processor.

20131007_211407

Then melt your chocolate, add this and all of the other remaining ingredients and give it a good mix. You should have a very sticky and rather tough mixture.

20131007_212700

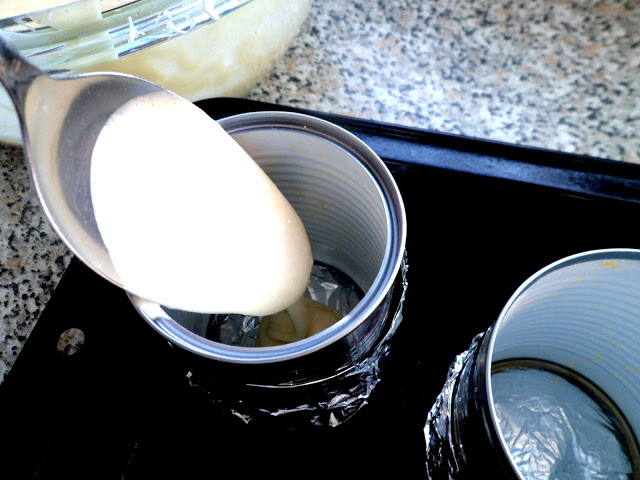
Get your baking tray out and pour in the mixture. This recipe does not require baking, rather just storing in your fridge for an overnight period. In this time your protein bars will gain structure.

20131007_213026

Having been patient you are now ready to cut your protein mix into bars and eat.

Do you have any fitness treats? Let us know through Facebook , follow us on Twitter or get in touch with us at 5crumbybakers@gmail.com!


By Karen Coe

Grendon Underwood Primary School Bakes a Treat

Grendon Underwood Primary School

Grendon Underwood Primary School

They say to never work with animals or children, but this was not the case for staff at Grendon Underwood Primary School in Buckinghamshire, who saw this recipe when I contacted them with regards to our website.

I knew this particular school had a cooking club from previous work experience I had done for them. So I phoned and asked if they would be interested in following one of my recipes and take a look at our website which they kindly agreed to do.

This is where the magic happens!

This is where the magic happens!

I spoke to the cooking club organiser as well pupils who took part in the club, Mrs Shirley, the cooking club teacher said: “We saw this recipe and thought it was easy enough for school children of all ages and abilities in my club to make. They had great fun and the result was both great tasting and it smelled wonderful too. I am certainly going to keep an eye on this site’’.

029030

It is nice to see that our website has been used by a local school and one of its recipes has been used in a cooking club.

Pupils at the school voiced their views below:

A year one child said: ‘’It was really easy to follow the recipe and it tastes lovely and sweet. We ate it last night!’’

A year two child said: “I loved the mashing the best it was really messy.”

A year one child said: “Mum wants to make this again it was really tasty.”

031032

I would like to give a special thanks to the staff and children at Grendon Underwood Primary School, who kindly took part in baking one of my recipes and kindly submitted the pictures seen above. I hope you enjoyed the recipe and be sure to check our website for regular updates on more tasty, simple, and healthy treats.

Check out the recipe here: https://5crumbybakers.wordpress.com/2014/03/15/vegan-banana-bread/

By James Busby

Here’s what we thought of The Custom Cupcake Company, Liverpool

We have been on another baking adventure this week, and this time we dropped in to The Custom Cupcake Company for a spot of tea and cake and a quick chat with one of the owners, Matt Blakey. We’d like to thank 5crumbybakers fan Elly Groves who suggested we visit this super cute place by leaving a comment on a post we did about Dafna’s Cheese Cake Factory, a quaint bakery on Smithdown Road.

Image

Niamh (left) Owner Matt Blakey, Karen (right)

The Custom Cupcake Company is located in one of Liverpool’s most animated areas- Bold Street, A vibrant high street that’s constantly bustling with shoppers heading down towards Liverpool town centre. We agreed this lively cobbled street is the perfect location for a cupcake shop, and certainly a great place to stop off for a sweet treat when you’re on your way into town.

ImageImage

The exterior of the cute Bold Street cupcake shop and one of Matt’s particularly special flavoured cupcake.

The interior of the bakery/café is fresh and simplistic. There’s a large bar on one side displaying the bakery’s delicious treats a few tables dotted here and there for those (like us) who can’t have a cupcake without a cup of tea to go with it! The counter that stretches all the way along the bakery wall is stacked with piles of heavenly looking cupcakes.  Having to choose a single cake can prove great difficulty (we were forced to purchase two each… just for market research of course!)

ImageImage

The interior of the bakery and their delicious triple chocolate brownies on offer.

Matt and his wife Kelly opened the bakery last November. In their short time of running it, it sure has made its mark. They provide over 130 wildly unique flavours on rotation, and even have their own celebrity following which include; Russell Brand, Eddie Izzard, Little Mix and Taylor Swift, who all chose the bakery on Bold Street for its imaginative creations.

ImageThe Custom Cupcake Company caters for any occasion, here’s some of spectacular ideas for Birthday celebrations.

Image

The Custom Cupcake Company’s Black forest cupcake

Owner Matt tells us the best-selling has to be the Mars cupcake, and we can see why! Its chocolate and caramel mixture gives it a rich and gooey texture, very much replicating a real life Mars bar. It would make a seriously great Easter-time treat for any chocoholics who’ve given “the good stuff” up for lent!

ImageImageImage

Some special (and very unusual) treats the Custom Cupcake Company has to offer

When asking Matt about his weirdest creation, He told us about “cuptails,” a list of classic cocktails the CCC has recreated in cupcakes. One even includes an absinth shot but we won’t talk about that! “We also do a cupcake called pigs can fly” he said. It’s a sweet and meaty combination: a caramel flavoured cake, with a caramel filling and topping, all sprinkled with bits of bacon. We weren’t daring enough to try this flavour but why don’t you pop in and give The Custom Cupcake Company a go? We’d definitely recommend it!

Here’s our interview with Matt, the owner of The Custom Cupcake Company

Don’t forget to tell us what you think!

If there’s any other bakeries in Liverpool you think might be worth checking out, feel free to leave us a comment below!

Niamh Conway and Karen Coe

Five minutes with…The Baking Explorer

I think it is safe to say that since starting out on our baking blog experience here at 5crumbybakers, I have been bitten by the baking bug.
Hours that would normally have been spent watching soaps are now dedicated to catching up on my favourite baking blogs.
I stumbled across ‘The Baking Explorer’  blog quite some time ago now and I fell in love with it’s quirky design and delicious recipe ideas.
 Having become quite the fangirl, I got in touch with Kat, the baking explorer to spend five minutes with her to find out more about the baker.
Baking_Explorer_Logo-Only - Copy (2)
H: Hi Kat, What inspired you to start ‘The Baking Explorer?’
K: I decided to ‘bake along’ to The Great British Bake Off and I thought it would be a great way to record my baking.
H: What tips would you give to anybody starting out in baking?
K: Have fun, don’t be afraid to experiment, and don’t be put off if you get it wrong.
H: What is the hardest thing you have ever baked? Any huge baking disasters?
K: My biggest disaster was probably a Tarte Tatin, I burnt it so badly and it was unedible!
It was my first time making caramel and it went completely wrong.
I tried it again and got it right, which was a big relief.
Whenever I mess something up, I always have to make it again to get it right.
H: What do you think has made ‘The Baking Explorer’ so successful?
K: I’m not sure exactly, but I like to think it’s because my bakes are things people can see themselves producing at home. I don’t make unacheivable or overly perfect things and I hope that it makes me and my bakes more relatable for readers.
H:  Who is your baking inspiration?
K: I love Mary Berry! Who doesn’t?! She’s fab and I like her attitude such as taking shortcuts when needed, for example buying ready made pastry, and getting children involved in baking. She’s a wonderful lady. I also really like Stacie Stewart and John Whaite.
H: Which of your recipes has received the most attention?
K: The recipe on my blog that has received the most hits are the Custard Tarts I made for week 4 of last year’s GBBO. They were quite stressful to make, but really delicious and worth the effort!
H: What would be a piece of baking wisdom you could share with the 5 Crumby Bakers?
K: Try out new things. It’s the best way to grow your range of baking skills and experience. And to discover new delicious treats!
H: What has been the best thing about writing a baking blog?
K: There have been so many great things. Meeting other people who have the same passion for baking as me definitely comes high on the list. It’s inspiring to see what other bloggers create and also it’s lovely to receive positive feedback about my own bakes.
H: What is your favourite bake?
K: Gosh that is a tough question! It’s hard to pick as it depends what you’re in the mood for, but something I could never turn down is a slice of Coconut & Lime Loaf.
H: Where do you see your baking blog in the future?
K: I’d be so thankful if it continues to grow and I’m looking forward to seeing what opportunities come along in the future.
You can find Kat over at ‘The Baking Explorer.com’
Do you know of any fabulous baking blogs to recommend to us?
Who would you like to see us spend 5 minutes with…
Leave a comment below
And don’t forget, you can also like us on Facebook , follow us on Twitter or get in touch with us at 5crumbybakers@gmail.com!
By Hollie Bradbury

Which celebration bake looks the tastiest? LETS VOTE!

Celebration bakes are our very favourite treats as you may already know from some of our recent posts Choco-vanilla birthday cupcakes, Queen Victoria crowns and St David’s Day treats. These bakes don’t just make the kitchen smell divine, they put smiles on the faces of our best friends and mark that occasion that’s special to us all, one way or another.

We hope you’ve enjoyed reading our posts and recipes for celebration bakes just as much as we’ve enjoyed writing them, but now that you’ve seen what the 5 crumby bakers can do, we thought that this week we’d hand our website over to you, so everyone can see what our users and fellow baking enthusiasts have been up to.

So as promised, here are the lovely pictures of your very own celebration bakes that you’ve been emailing us. Whoever is voted the TASTIEST looking celebration bake by this time next week will hand their recipe over, into the (perhaps not so safe) hands of the 5 crumby bakers and we’ll see how our attempt compares to your original.

Wish us luck.

Get voting in our poll below!

1. Kathryn Swarbrick’s Disney princess castle

Image

2. Chloe O’Neill’s Triple chocolate fudge brownie cake

Image

3. Fionnula Conway’s Jubilee lemon sponge

Image

4. Laura Carroll’s Banoffee fudge layer cake

Image

5. Adam Paul’s Chocolate cake with chocolate cream

adam

6. Amy Elliot’s Giant chocolate and vanilla cupcake

Image

7. Alice Currie’s Christmassy spiced gingerbread men (Ok so we know they’re not really a celebration bake but they’re so cute!)

Image

8. Monica Carroll’s Easter treat chocolate cake

Image

9. Katie Robinson’s Kit-cat surprise

kitcat

10. Ben Smith’s White chocolate and toffee birthday bananza

Image

 11. Maureen Brown’s Easter chick

chick

By Niamh Conway

Vegan Banana Bread

Veganism and vegetarianism have always raised a curiosity within me and I always feel a bit of admiration for those who choose to discard meat and its counterparts. I have many friends who are either vegan or vegetarian and they have their own reasons for the change in their lifestyle, whether it’s regarding the ethical issues of the meat eating culture; the treatment of livestock; the process of how the meat is obtained or even health issues it causes.

So you’re probably thinking that it is quite hard to source and eat the usual delicious tasty, treats without any trace of meat or dairy? Well thankfully that is not the case. During the past decade veganism has become more of a prominent way of living in our culture, you only have to walk down the aisles of your local supermarket and you will instantly see many meat and dairy substitutes.

Some of the nicest meals and baked goods I have tried have been from either vegetarian or vegan recipes, and due to having close friends and family who are vegan I feel I understand a little better about this lifestyle choice and I greatly enjoy substituting meat for two or three of my meals a week, after all why not right?

So as I started to think of what I wanted to bake over the weekend I decided I wanted to prove to myself and to my vegan flat-mate that I could bake her something that would A) edible (probably the most important point) B) that it would be both simple and tasty.
So upon taking the challenge I decided to bake a vegan take on one of my favourites, banana bread.

This recipe was so easy and tasty that both my vegan flat mate and the rest of the motley crew enjoyed them greatly, they certainly didn’t last very long.
The really nice thing about this recipe is you can’t tell that it has been made without milk or butter; in fact I would say it tastes even better! So why don’t you give it a go yourself.

Here's what you will need.

Here’s what you will need.

Ingredients
225g Plain flour (or use Self-raising flour and reduce the Baking powder to 2 heaped tsp)
3 heaped tsp Baking powder
100g Brown sugar (or caster sugar)
3 tsp Cinnamon or Mixed spice (optional)
3 large Black bananas, mashed
75g Vegetable or Sunflower oil (weight)
50g Dried fruit or nuts (optional)

Method
1. Pre-heat oven to 200 degrees Celsius.
2. Mash the peeled bananas with a fork. Mix well with oil and sugar.

This is the messy part!

This is the messy part!

3. Add the flour, baking powder and cinnamon, and combine well.

100_0230100_0231

4. Add any additional ingredients.
5. Baked in a greased and lined 2lb loaf tin for 20 minutes, before checking. Cover with foil, if the loaf cake is browning. Bake for another 40 minutes (approximately).

100_0232100_0234

6. Allow to cool a little before slicing. It’s delicious freshly baked but even yummier when it goes gooey the next day!

Enjoy!

Enjoy!

Recipe taken from: http://www.bbcgoodfood.com/recipes/2277635/vegan-banana-bread

Don’t forget, you can like us on Facebook , follow us on Twitter or email us at 5crumbybakers@gmail.com!

By James Busby

THE IMPOSSIBLE MADE POSSIBLE! How you too can make your Impossible Pie.

Last week, I went around Heysham Village absorbing the history and culture, but also enjoyed a slice of Impossible Pie at Tracey’s Cafe. (If you haven’t read my post already, here’s a quick reminder: Heysham Village: History, Scenery and a slice of Impossible Pie) The concept intrigued and excited me: why is this pie called the Impossible Pie when I was looking at it right there in front of me? Like an Egg Custard Tart with a coconut topping, I decided this pie was well worth trying out myself as I am partial to an Egg Custard Tart.

You will need:

2 cups of semi-skimmed milk

2 cups of plain flour

1 cup of caster sugar

2 cups of margarine

4 eggs

1 cup of coconut

2 teaspoons of vanilla extract

10′ Pie Dish of Flan Dish

Impossible Pie ingredients

Impossible Pie ingredients. Yes I am aware there is only one egg here, I’d cracked the other three before taking this photograph.

1. Before you start anything, make sure that you have set your oven to preheat at 180°C.

2. Whisk your eggs in a large mixing bowl. It is advised to use an electric whisk but because I am a student I just put some elbow grease in and used a fork.

3. Add your milk and whisk again until it looks like you’ve made a really nice scrambled egg mix. Now, add your cup of sugar! It’s best adding your sugar after the eggs and milk as you can see it dissolving and will know when it is fully mixed in.

4. Sieve your flour into the mixture, mixing as you go along to ensure there aren’t any lumps. No one should have to eat a lumpy pie.

5. Now I tried buying a coconut from Tesco but a) They’re not in season and b) It just seems like an unnecessary bother preparing a coconut. As they also didn’t have any coconut shavings on the bakery isle, I had to buy chunks of fresh coconut from the fridge section which at £1, I didn’t think that was too bad and was just the amount I needed. As they are pretty big chunks, I found it best to dice them into smaller pieces like this:

Roughly dice your chunks of coconut to look something like this

6. Having diced your coconut, just throw it into the mix and give it a little stir.

7. I found it easier to melt my margarine before adding it to the mixture, a lot less hassle to mix. Finally, add your two teaspoons of vanilla extract and it’s all systems go. Gently pour your mixture into your dish and it’s ready to put into the oven for 1 hour. Don’t worry if you think the mixture is too runny, it’s supposed to be like that. It should look something like this:

IMG-20140307-00366

8. If you’re anything like me, you will look into the oven every five minutes or so just to make sure that it’s working. After an hour of doing this, your pie should be ready!

Fruit isn't just for decoration, it actually does get eaten

Fruit isn’t just for decoration, it actually does get eaten. But look at that pie! Perfect.

I tried a slice myself and can honestly say it tasted delicious. But obviously I’m going to say that because I made the thing. So I didn’t have a biased opinion, I tried it out on my flatmates and friend Kathryn to see if they too enjoyed eating the pie. And they did!

Kathryn eating my Impossible Pie

Kathryn eating my Impossible Pie

As the pie has quite an unusual texture, I would say it is best to eat it on it’s own. Although some strawberries can be quite refreshing as an after bite!

The pie is best on it's own but for extra decoration and a refreshing after bite, I served mine with Strawberries and Banana

The pie is best on it’s own but for extra decoration and a refreshing after bite, I served mine with Strawberries and Banana

Do you think you will try and make the impossible possible and try your hand at making the Impossible Pie? And if not, what other recipes do you find challenging that have a delicious outcome?

Leave your comments below.

And don’t forget, you can like us on Facebook , follow us on Twitter or email us at 5crumbybakers@gmail.com! Look forward to hearing from you,

John Elsworth

Caramel Nibble Cookies

My baking skills were in demand today with my flat mates asking for something tasty. Cookies are quick and easy to make and you can pick up a basic chocolate chip recipe and be creative; substituting the chocolate for almost anything you fancy! Dairy Milk’s Caramel Nibbles being my major guilty pleasure, I thought I would use them in today’s recipe.

The recipe I used for my cookies was Hugh Fearnley Wittingstall’s Chocolate Chip Cookies, which he uses in an episode of River Cottage. The full recipe can be found here: http://www.channel4.com/4food/recipes/chefs/hugh-fearnley-whittingstall/chocolate-chip-cookies-recipe

I found the recipe really simple to follow as everything was explained in 4 easy steps. It only takes about 10 minutes to make the mixture, and less than that for them to bake.

What I used

What I used

Ingredients

125g unsalted butter

100g caster sugar

75g soft light brown sugar

1 medium egg, lightly beaten

2 tsp vanilla extract

150g plain flour

½ tsp baking powder

Pinch of salt

100g dark or milk chocolate (or whatever filling you desire!), chopped into smallish chunks

To start pre-heat the oven to 190°C/gas 5, to allow the cookies an even bake as soon as you’re finished making the mixture.

Melt the butter, Hugh suggests doing it slowly on the hob but I just whizzed it in the microwave. While that’s being done put both sugars in a bowl and then add the melted butter. Grab a spoon and give it a quick mix.

It should look a bit like this

It should look a bit like this

Then add the egg and vanilla (I used vanilla paste instead of extract. I find the paste has a stronger flavour) again mix this in well. You should have a rather sloppy mixture at this stage.

Sift in the flour, baking powder (I substituted the baking powder for self-raising, which essentially does the same job) and salt and stir the mixture. You should see it gaining a doughier texture.

All you have left to do now is add your filling! Make sure it is chunked up and mixed in well; so that it will spread nicely throughout your dough.

Doughy mixture

Doughy mixture

Now it’s time to get your baking trays ready! Line them with greaseproof paper (or something equivalent) and then dot the mixture out evenly on the sheet. Be aware that if you make your cookies thick they will spread during the baking process. I certainly found that when making mine!

You’re now ready to bake, as I stated previously make sure you watch over them as it should only take about 8-10 minutes for them to go golden. It is not something you can really judge by touch, as they will still be soft when getting them out of the oven. You will need to leave them to cool before removing from the tray and in that time they will gain a biscuity structure.

Before bake- nicely spaced

Before bake: nicely spaced

After bake- rather merged

After bake: rather merged


Mine got rather golden rather quick, but they were not burnt! Within hours my flatmates and I managed to finish every crumb. Throughout the weekend I was forced to make another 3 batches, and with each attempt I saw my technique improve.  They made a great dunking companion for a hot drink (especially after a long stressful day). This is definitely a recipe I will return to time and time again.

My cookie mountain

My cookie mountain

Having a nice brew

Having a nice brew

Have you ever experimented with any interesting cookie fillings? let us know below or through Facebook  Twitter or email: 5crumbybakers@gmail.com

by Karen Coe

Afternoon Tea Treats: Queen Victoria Crowns

SAM_5311
I like to call these miniature cakes, Queen Victoria Crowns as they look like a royal crown when baked and decorated with a sprinkle of icing sugar.
They are ultimately a scaled down version of the classic victoria sponge cake.
(You can read all about the history of these delicious creamy cakes in THIS POST)
This afternoon I am treating my friends to a crown or two.
Shhhh don’t tell anybody but I cheated a little to save time and bought a Victoria sponge mix.
It saves a lot of time if you need to whip these up in a hurry and doesn’t leave you with lots of baking ingredients that you aren’t likely to use up again.
If unlike me you are being a good baker and not cheating, for your sponge mix, you will need:
– 2 large free range eggs
– 4oz self raising flour
-4oz caster sugar
-4oz salted butter
(1/2tablespoon of baking powder if using a food processor to mix it all up)
-1tsp vanilla extract.
If you are naughty and cheating like me you will need:
-A Victoria Sponge ready made mix
-120ml of milk
– 2 eggs
– 100g of Unsalted butter to get your sponge mix going!
You will also need:
– Small tin cans (preferably the ones you get sweetcorn in)
The number of cans you need depends on how many cakes you want to make in one batch.
– Tinfoil to wrap around the bottom of the tin.
(Step 1)
Prepare your sponge mix first.
If you’re making your sponge by hand, you will need to: Cream your butter and sugar together in a bowl until pale and fluffy.
Beat in the eggs, one at a time, and stir in your vanilla extract. Then fold in the flour using a large (metal) spoon. (Note: no extra baking powder.) If you’re using a food processor, Pop your butter, flour, sugar, eggs, vanilla & baking powder into your blitzer. Make sure the ‘stopper’ is removed, so the air can get in. Turn it on and blend until you have a smooth batter.
Or if like me you are following the instructions from your pre made mix.
SAM_5281
SAM_5282
SAM_5283
SAM_5286
(Step 2)
Using a tin opener take off the bottoms of your cans and wrap in tinfoil.
SAM_5287
(Step 3)
 Spoon a little under half of the sponge mixture into your tin cans.
SAM_5289
SAM_5290
(Step 4)
Pop into a preheaded oven at around 175-180c.
Once your tins are in do not open the door for 15 minutes as your sponge will drop.
After 15 minutes, open the door and pop a skewer through the middle of the cake.
If the skewer comes out clean and not sticky you are ready to let them cool, if not pop them back in the oven for another five minutes or so.
While your cakes are cooling
It’s onto making the buttercream filling..
It is best to make buttercream if you are not going to be digging into your cakes on the day you baked them as buttercream lasts longer than fresh double cream.
(Step 5)
 Mix 100g of unsalted butter along with your icing mix.
SAM_5291
SAM_5293
SAM_5295
(Step 6)
 Once your little cakes are cool, take off the tinfoil and use a knife to cut around the bottoms to get your little cake out.
SAM_5298
SAM_5300
They can be a little tall so trim a small amount from the bottoms and then cut the buns in half.
SAM_5307
Now for the decorating fun!
(Step 7)
Add your buttercream to one side and any jam of your choice to the other side and sandwich them together!
And finally, dust with icing sugar!
SAM_5313
What do you think?
What occasion would you bake these for?
FOLLOW ‘5 Crumby Bakers’ on Facebook  Twitter or email us: 5crumbybakers@gmail.com
By Hollie Bradbury

Dafna’s Cheese Cake Factory: Liverpool

This week Karen and I visited the super cute Dafna’s Cheese Cake Factory, a small yet inventive bakery which sits pleasantly at the heart of Liverpool’s busiest student area, Smithdown Road.

photo (8)

Dafna’s cheese cake factory

Although at first glance the beautiful bakery looks almost miniature, fitted neatly between a row of equally quaint knick-knack shops, once your inside you’ll see that its actually part of a four story building with two large kitchens where every delicious treat is baked on the premises. As you walk in the first thing you’ll notice is the sweet aroma  of cream cheese icing, that kind of scent you can only get from a freshly baked cheese cake. The front of the shop is packed to the rafters with delights of all kinds, red velvet cheese cake, chocolate fudge brownies, sweetened shortbread and every flavour cupcake you could imagine. There’s also a selection of old fashioned goodies including, bottled ginger beer, homemade jams and chutneys, for those with a not so sweet tooth.

ImageImage

Some of the yummy treats on offer at Dafna’s

Anne who is 80 next month founded this charming bakery 36 years ago after her passion for baking was spurred on by family members and their compliments. We spoke to Anne about the journey she has been on, from her first ever bake (her favourite, the original vanilla cheesecake) to her current managerial role in the business, having passed down her original recipes into younger hands.

Image

Niamh (left), Owner Anne and Karen (right)

Image

ImageImage

The interior of the tiny bakery

She runs the business with her husband, Yacov, and currently employs three post graduate students who she has taught to bake her delicious and unchanging, original recipes from all those years ago. She in turn, has introduced some of their new takes on traditional recipes into the bakery so it can continue to thrive. I had the pleasure of testing out one of their newest innovative recipes, this being the most moreish fruit cake I have ever tasted. It was soft and moist and filled with all kinds of plump fruits, it took me right back to the homemade fruitcake my nanny brown would tempt me with every Friday afternoon whilst we sat and did the weekly crossword. Anne wouldn’t tell us what secret ingredient that she puts in the fruit cake to make it so mouth-watering so you’ll just have to pay the place a visit yourself and see if you can guess.

ImageImage

Employees of Dafna’s sampling their brand new fruit cake

VIDEO:  Starting your own bakery from day one: Anne’s ups and downs, trials and tribulations, tips and tricks.

VIDEO: Here are a couple of the bakers from Dafna’s Cheesecake Factory… doing what they do best!

Are there any bakeries you know that are worth checking out? Or maybe you’d like us to take a look around your own bakery? Let us know by leaving a comment below.

Facebook  Twitter or email us: 5crumbybakers@gmail.com

By Niamh Conway and Karen Coe